So, you’ve got a brilliant script, a passionate crew, and a burning desire to make your film. Now comes the practical part: getting the gear. For most beginners, renting is not just an option, it’s the smartest move. Here’s why, and how to do it right.
Why Rent, Not Buy (Initially)?
- Cost-Effective: Professional film cameras, lenses, lighting, and sound equipment can cost tens of thousands of dollars. Renting allows you to use top-tier gear for a fraction of the purchase price.
- Access to Variety: As your skills grow and your projects evolve, so too will your equipment needs. Rental houses offer a vast inventory, allowing you to experiment with different cameras, lenses, and specialized gear without commitment.
- Maintenance & Updates: Rental companies are responsible for maintaining their equipment and upgrading to the latest models. This means you always have access to well-maintained, current technology.
- Storage Solutions: No need to worry about storing expensive and delicate equipment when it’s not in use.
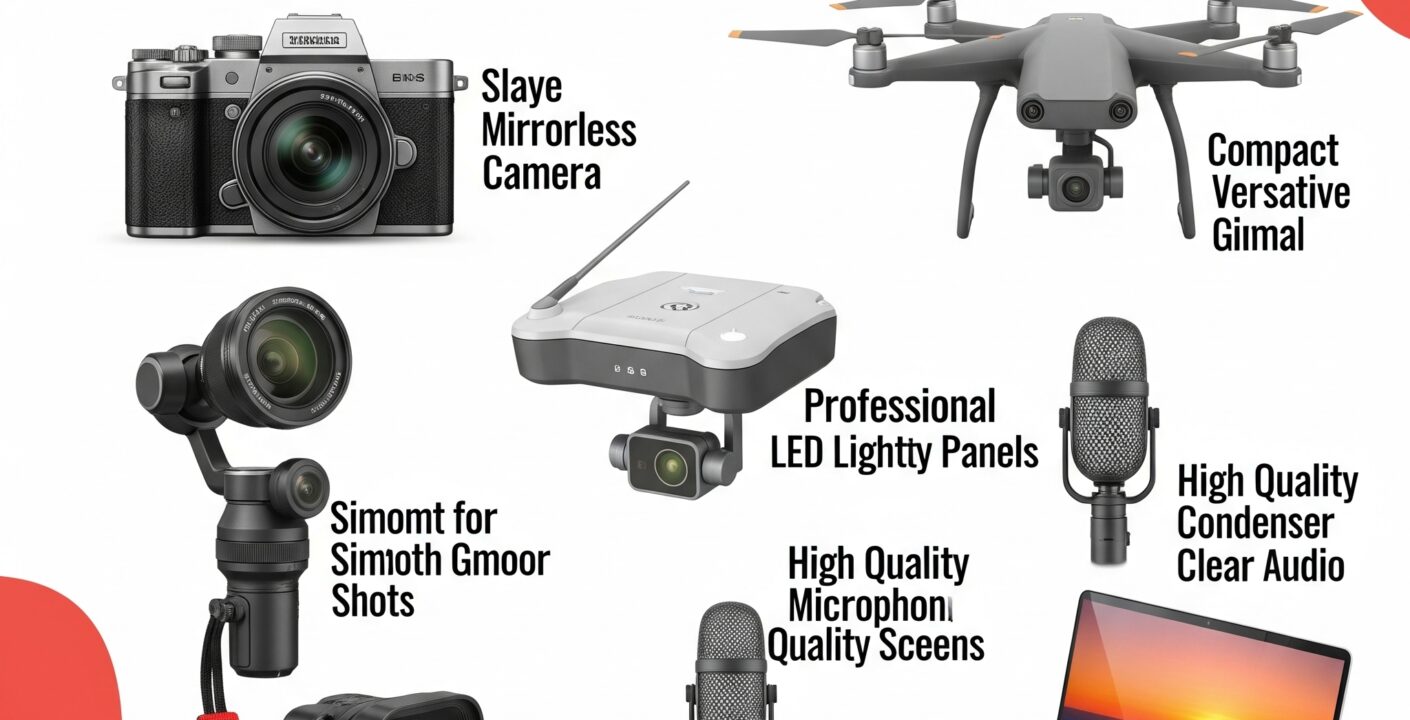
The Core Four: What to Consider Renting First
While every film is unique, these four categories form the backbone of any production and are prime candidates for rental:
- Camera & Lenses:
- Camera Body: For beginners, consider user-friendly options like the Blackmagic Pocket Cinema Camera series, Canon C-series (C100/C200), or Panasonic GH5/GH6. These offer excellent image quality and a relatively gentle learning curve.
- Lenses: Don’t underestimate the power of good glass! A versatile zoom lens (e.g., a 24-70mm f/2.8) is a great starting point. For a more cinematic look, consider renting a prime lens kit (e.g., 35mm, 50mm, 85mm).
- Accessories: Don’t forget essential camera accessories like extra batteries, media cards (SD cards or CFast 2.0), a matte box for filters, and a follow focus for precise pulling.
- Lighting Kit:
- Basic 3-Point Lighting: A fundamental concept in filmmaking. You’ll need a key light (main source), fill light (softens shadows), and backlight (separates subject from background).
- Common Rental Lights: Look for LED panels (like Aputure 120D/300D), Fresnels (for focused beams), or softboxes (for diffused light). Many rental houses offer pre-packaged “beginner lighting kits” which are a great starting point.
- Stands & Grip: Don’t forget C-stands, light stands, sandbags, and clamps to secure your lights.
- Sound Equipment:
- External Recorder: Crucial for capturing clean audio. Options like the Zoom H4n Pro or Tascam DR-40X are popular and user-friendly.
- Microphones:
- Shotgun Mic: Ideal for capturing dialogue from a distance (e.g., Rode NTG2/NTG4). You’ll need a boom pole and shock mount.
- Lavalier Mics: Small, clip-on mics for discreetly capturing dialogue directly from your subject (e.g., Sennheiser G3/G4 wireless systems).
- Headphones: Closed-back, over-ear headphones are essential for monitoring audio quality on set.
- Support & Stabilization:
- Tripod: A sturdy fluid-head tripod is non-negotiable for stable shots. Look for brands like Manfrotto or Sachtler.
- Monopod: A lighter, more portable option for quick setups.
- Slider: Adds dynamic movement to static shots, creating a professional feel.
- Gimbal/Stabilizer: For incredibly smooth, cinematic camera movements (e.g., DJI Ronin or Zhiyun Crane series).
Your Rental Checklist: Before You Book
- Define Your Needs: Be clear about what you need the equipment for. What kind of shots are you aiming for? What’s your budget?
- Research Rental Houses: Look for reputable rental companies in your area. Read reviews and compare pricing.
- Get a Quote: Contact them early and get a detailed quote for your desired equipment.
- Insurance: This is CRUCIAL. Most rental houses require insurance to cover damage or theft. Check if your homeowner’s insurance covers rented equipment, or if you need to purchase a separate short-term policy.
- Pickup/Drop-off Logistics: Understand their hours, and plan your pickup and drop-off times carefully. Factor in travel time.
- Test Everything on Pickup: Before you leave the rental house, power on and thoroughly test every piece of equipment. Check for any damage, missing components, or malfunctions. Document everything!
- Understand the Terms & Conditions: Pay close attention to late fees, cleaning fees, and liability clauses.
On Set Best Practices
- Handle with Care: Treat rented equipment as if it’s your own (or even better!). These are delicate and expensive tools.
- Keep it Organized: When packing up, ensure all accessories and cables are returned to their designated spots.
- Cleanliness: Return the equipment in the condition you received it. Wipe down any smudges or dust.
- Report Issues Immediately: If something breaks or malfunctions on set, contact the rental house immediately. Don’t try to fix it yourself.
Beyond the Basics: Growing Your Rental Arsenal
As you gain experience, you might start exploring more specialized rentals:
- Dollies & Tracks: For incredibly smooth, controlled camera movements.
- Jibs/Cranes: For high-angle or sweeping shots.
- Specialty Lenses: Anamorphic lenses for a widescreen, cinematic look, or tilt-shift lenses for creative focus effects.
- Generators: For powering your lights and equipment on location without access to power outlets.
Conclusion
Renting film equipment is an indispensable tool for beginner filmmakers. It democratizes access to professional-grade gear, allowing you to focus on storytelling without the burden of massive upfront investments. By understanding your needs, researching thoroughly, and handling the equipment with care, you’ll be well on your way to bringing your cinematic dreams to life, one rental at a time.
Now, go forth and make some magic!
